Dynamically change base color of existing diffuse texture

I have a mesh exported from Blender using 3 textures, Diffuse, Normal and Roughness.

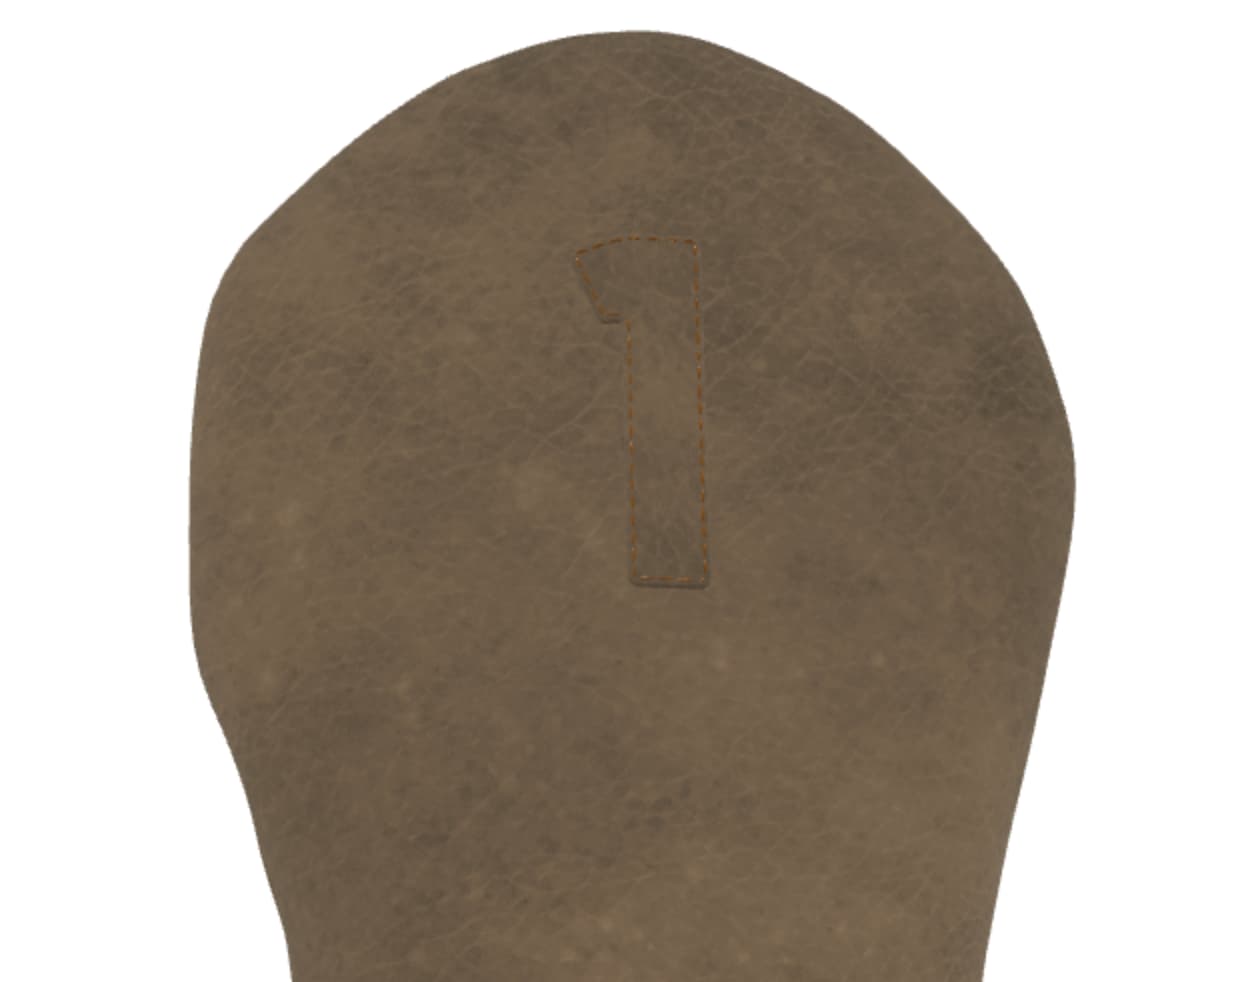
It’s a leather texture where the user will be able to choose different colors of the same leather texture.

This is how I have now:

  var leatherMat = new BABYLON.StandardMaterial("leatherMat", mainScene);
  leatherMat.diffuseTexture = new BABYLON.Texture("path", mainScene);
  leatherMat.specularTexture = new BABYLON.Texture("path", mainScene);
  leatherMat.bumpTexture = new BABYLON.Texture("path", mainScene);

How can I add a Color Mixin, which will only affect the diffuseTexture? Is that even possible? I don’t want to have a different diffuse texture image for every color variation.

I tried looking into the Node Material Editor but couldn’t find good enough information on how this would work.

Thanks.

Can you be a bit more explicit towards what you need to achieve?
You can certainly ‘tint’ the diffuse texture with the diffuseColor but the result also depends on the texture. If it’s a white or grey texture it will take the color, else it will simply act like ‘hue/saturation’.
Or do you want to replace the texture or perform a change in the chanels/color curves?
May be you could post a screenshot of your texture and some mock-up(s) of the alternate colored results you want?

1 Like

The idea is to have 1 single texture file, where I can manually write some kind of color mixin in the code that will change hue, saturation or brightness of the diffuse texture.

Doing it in Photoshop, for example, is just a matter of adjusting the Hue of the file and I can have multiple colors:


In code, I would store the adjustment in a variable and dynamically change the “mixin” of the diffuse texture depending on what the user chose. I’m using “mixin” here because I don’t know how the process works inside Babylon, if possible.

Something like this?

2 Likes

I believe it’s something like this. Can you explain how this is working? You’re applying a custom material on top of a TintMaterial? It looks like you have 2 different textures overlapping.

The easier way would be simply that. Assuming the original leather texture would be in grayscale or only littly tinted.

2 Likes

Just extended a BABYLON.CustomMaterial and on its constructor added a uniform sampler. Then before the diffuse updates in the shadercode I just have it adding to the diffuseTextures color.

1 Like

So this is simply adding a diffuseColor on top of the diffuseTexture, enough to alter it?

In essence, yes. @Pryme8 only brought you the ‘sexy’ and ‘dynamic’ method :wink: because of the title of your post (and because he’s a much better coder than I am). I’m just a simple designer. But then yes, visually it can give the same results from what I understand from your needs. Both rely on the ‘diffuseColor’. I simply set one where the other method applies a modifier to the rgb using a tint and updates it before the shadercode.

1 Like

Thanks a lot, you guys are awesome.

For the sake of not creating confusion, I would need to amend the part above. I used the word ‘tint’ instead of ‘hue’ because of the translation from french to broken english (one of my specialities :wink:)
So, when I said ‘tint/saturation’ (as in photoshop), I actually ment ‘hue/saturation’ (not applying a new ‘tint’ to the texture color). Anyways, I hope the above two examples helped you get the result you want.
GL with your project,

1 Like

Another quick question. You mentioned preferably to use grayscale images and then add the color on top. I’m trying to work like this but can’t return any good results. Using StandardMaterial will always return grayscale, using PBRMaterial, the .albedoColor does apply the color on top but looks like it’s blending with the grayscale wrong.

Any ideas? I’m using new BABYLON.Color3(163, 92, 41).toGammaSpace(); for the color on top of a grayscaled texture image that’s on .albedoTexture. The image was created on Photoshop by just turning the Saturation to 0.

This is how the picture looks like when I use a brush to paint over the grayscale image, with blend mode Color:

And this is how it looks with the .albedoColor using the same RGB values on the model:

It may depend on your metallic/roughness settings - https://playground.babylonjs.com/#SDGIVR#5

1 Like

The Metallic/Roughness does change a little bit of the color, but it’s still very far off what it should be.

Here with Metallic at 3.5:

It seems like the blend mode of the color itself is wrong, though none of the alpha modes I found regarding blend modes will fix this.

This is the closest I’ve got to the reference image, but the values are super weird.

Reference:

Model:

The code:

var leatherMat = new BABYLON.PBRMaterial("leatherMat", mainScene);
var leatherRed = new BABYLON.Color3(110, 3, 0).toGammaSpace();
leatherMat.albedoTexture = new BABYLON.Texture("path", mainScene);
leatherMat.albedoColor = leatherRed;
leatherMat.roughness = 0.5;
leatherMat.metallic = 0;

I don’t know what math Babylon is doing between the Grayscale (RGB 71/71/71) of the texture with the Color (RGB 110/3/0).

When viewing this image and using the color picker, this is the RGB:

Heya here’s a few things that jumped out from your code snippet that hopefully can help. :slight_smile:

  1. You’re using 0…255 range for your RGB values, but the Color3 constructor expects them to be in the 0…1 range. So for example you could divide you values by 255 or you could call Color3.FromInts() and pass your values in the 0…255 range.

  2. You’re converting albedoColor to gamma space, but PBRMaterial expects it to be in linear space. E.G. assuming your color is in gamma space you can use toLinearSpace to convert it to the expected color space.

3 Likes

Hi @andresaliba
The result and why it’s so hard for you to get there has multiple causes. Same as with a plane crash :wink: There are often multiple and an addition of causes. :flight_arrival:

First, as explained by @Blake, you are using wrong color values passed for color3 without conversion.
You can make use of ‘tools’ to convert your color (from or to RGB or HEX values). Very simply, on RGB, you can apply the max level for each channel (255) to return a value within the range of BJS values for color3 or color4.
I.E., where

should read:

var leatherRed = new BABYLON.Color3(110/255, 3/255, 0)

Second, you are converting your colors to the GammaSpace which in essence, does a bit of the same as in photoshop (since it seems you are a psd user) when you use a colorspace/colorprofile. It handles only the gamma but it constrains the spectrum within your colorprofile (in this case for gamma only). Though, as explained by @Blake, the gamma space is not intended for PBR (since PBR is based on physical rendering).

Third, you chose to go with PBR. A fine choice. You can get awesome results with PBR. However PBR is quite different from how you’d use a standardMaterial. The ‘environment’ and ‘the light’ will highly influence the final result. Not to mention all the other parameters, such as reflection, refraction…PBR as its name suggest is based on physical rendering. This means you cannot really temper all too much with the values you put in there or you’ll get unexpected results each time you add a light or more light or another environment.

I hope this (and the above answers from both @labris and @blake will help you. Also do not hesitate to tour the doc for the section ‘mastering PBR mat’. It’s a bit tedious to learn if you never done PBR before, but it’s quite comprehensive and with the help of the PGs and example, you’ll soon become a PBR master :smiley: Else, feel free to return here with your PG and questions and we’ll guide you through it the best we can. Meanwhile, have a great day, :sunglasses:

Edit: Forgot to mention, once you know a bit more about the handling of colors in BJS (or even before that) BEWARE of the values you can retrieve in ‘the inspector’. I’m saying this because you mentionned a color picker.
For the one in the BJS ‘inspector’ and as per the tiny-mini little bit of text below the colorpicker (I would call it 'a disclaimer :wink:, the values given here are CONVERTED TO THE GAMMA SPACE (even for PBR). The only go-around to make sure the values that are in there are ‘forced’ to the linear space is by using the tool ‘.toLinearSpace()’ on your color (either RGB or HEX color). Then, and only then, the values displayed in the colorpicker of the inspector are in truth, the true ‘linear’ values. I’ve been thinking for a while making a post about this but know that the handling of the colorspace is in fact new to version 5 BJS. And knowing a bit about how difficult this is, I didn’t want to put additional pressure on the people who did undertake this huge part of work.

3 Likes

Thank you and @Blake for the extensive help.

I have used a PBR pipeline before and I think it’s what got me confused. By default, using the Color3 without toGammaSpace or toLinearSpace, I assumed it was already linear.

I have now added an HDRI to the scene and I’m not using any individual lights. Is this HDRI already in linear or do I need to take care of that too?

Blake mentioned that assuming the color is in gamma space, I need to use toLinearSpace. Is that assumption on the Color3? What about my textures?

I think this would’ve been clearer if I had built the material in the Node Material Editor, though I couldn’t find the PBRMaterial there.

1 Like

If the texture is in gamma space then the PBR shader will convert it to linear space automagically, so no need to worry about those…

Also here’s the documentation for using the PBRMetallicRoughnessBlock that has example playgrounds and NME materials, plus a great video tutorial. :slight_smile:

1 Like

I assumed the PBRMetallicRoughnessBlock was different than just the PBRMaterial, as the “Mastering PBR” page shows how to convert one to the other.