Image on UVMapped Plane is stretched đŸ€Ż

Hi All,

I am new to this community and seeking some help for what I can only explain as my ‘Babylon Monkey Brain’

The Situation:

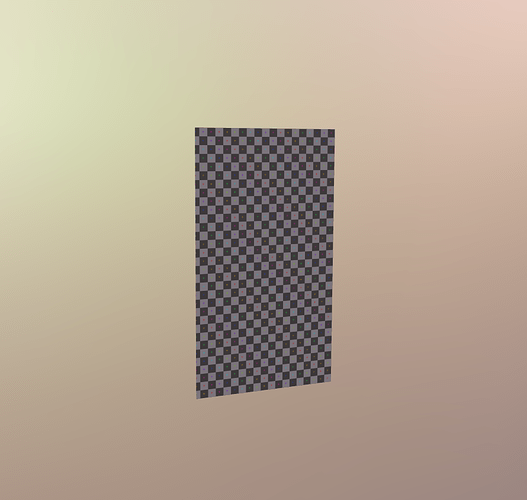
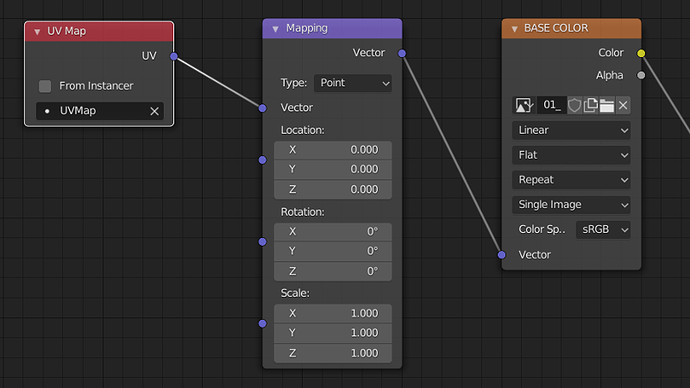
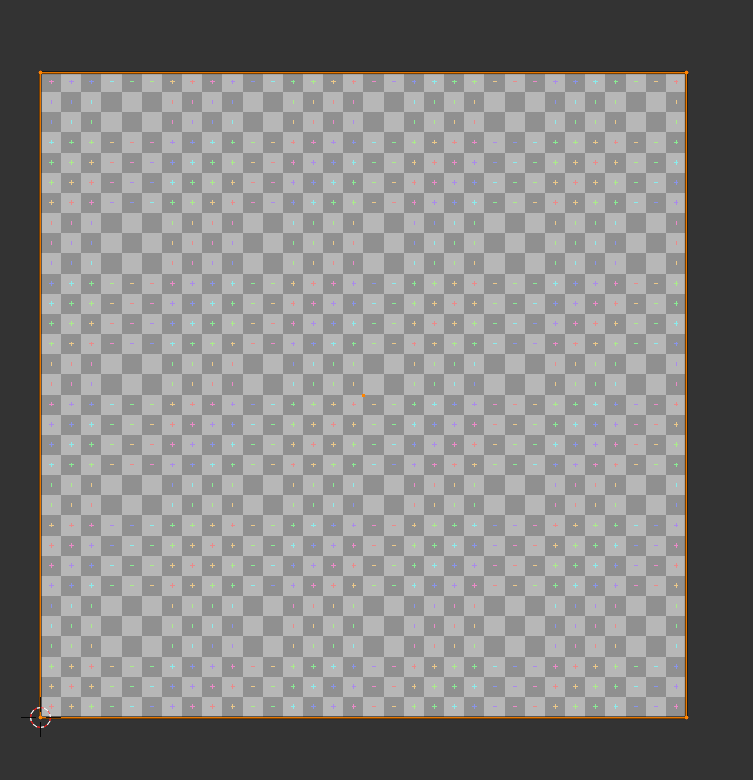
I have a plane that I have created in Blender where I have applied all transforms and then proceeded to map the UV’s to ensure no material issues. I tested this in Blender by creating a test texture(black n white squares) and applying that in the UV editor. This enabled me to see that my plane would not skew the textures once applied, and they would be uniform, as shown in the below images:

The Problem:

I have tested this in the Babylon Engine and in the Sandbox. When I replace the test texture with an image that matches the UV size from Blender, in this case, 592 x 1024, it loads in and aligns the image to the left but stretches it. From what I understand from some digging, it looks like it is stretching the image to fit the whole area of the UVMap, which would be 1024 x 1024, even though I have mapped the UV face of the Plane in Blender. Hopefully, the images help below:

Thoughts:

This could be due to how or where the new texture is being applied. Should I target the plane’s face and then apply the material?

I hope some helpful person on here can help train my Monkey Brain to solve this issue :pray::see_no_evil:

Thanks :monkey_face:

@PirateJC might be able to help if you export in GLTF and @JCPalmer is the king of the babylon exporter for blender.

Just to confirm, we are exporting the Plane from Blender using the GLTF exporter :monkey_face:

so @PirateJC should be able to help :wink:

Hi @Anixan_Skystalker !
A starting point may also be reading this post Is texture size required to be power of two for the best performance / quality?

It may be due to GPU stretching your texture but I am still investigating a clear answer
stay tuned

Just to be sure
 can you do this and re export the gltf ?

I reproduce your scene both in Blender and in the sandbox but I don’t get the issue you got, look at my screenshots :
Blender


Sandbox

And here the 1024 X 1024 texture with UV set only on the part of the texture I want :
Blender


Sandbox

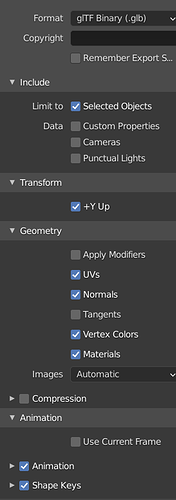
I use a GLB file for the export, but I am pretty sure there is no difference with a GLTF export. I am not an expert on that but @PirateJC may confirm that for sure.

Blender GLTF Export Setting

@Anixan_Skystalker do I reproduce your example correctly ? Or am I missing something ?
I use Vivaldi (kind of lighter Chrome) but I tested on Firefox and Opera and I got the exact same result
 Maybe it’s a problem with your web Browser ? Are you sure WebGL 2.0 is used ?

Thanks, @Philemon13 your support was really useful and forced me to go back and look at the UV’s and think again in terms of how they work :see_no_evil:

In the end what I did to get this working was to change the map for the face of the place to consume the whole UV space and not just the unwrap area.

Here was the original UV Map for the plane covering just the unwrap area:

Here is it now fully covering the whole map area:

Thanks again I really appreciate you all supporting my money brain growth :monkey_face:

1 Like

Glad you find it usefull and solve your problem :grinning:
@Anixan_Skystalker don’t forget to mark this subject “solved” :wink:

Sorry I’m chiming in late to the thread, but @Philemon13 nailed the answer.

For Babylon it’s always best to use textures with a base power of 2. 128x128, 256x256, 512x512, 1024x1024, so forth and so on.

For me personally, learning UVs was one of the most confusing and complicated parts of diving into 3D asset creation in general. It takes a lot of mental gymnastics to wrap your head around it, but once you start doing it over and over, it starts to click. The best advice I can offer you is to keep at it! Don’t quit. Keep asking questions here and the community will come to help.

This DOES raise an interesting topic that I’d like to flag @PatrickRyan on. We’ve got a new section coming to our docs that will be dedicated to helping people learn how to create assets/art for use in Babylon.js. UVing in general is a great topic for this new docs section. @PatrickRyan can we add this to the list? :slight_smile:

I will add it to the list, @PirateJC , but I want to expand here for @Anixan_Skystalker as the rule of staying to power-of-two textures is a good rule of thumb, but there are times where it should be broken. This use case is an excellent example of when to break the power-of-two rule. It looks like you are making a card asset and are using art that is not intended to be square, and likely won’t get any square art from your art team. In this case, modifying the original artwork will likely result in degrading the original image by either stretching your pixels or adding dead space to the texture that will never be shown and so is just wasting space in download and in memory.

Here’s an example. This is just a random card image I pulled from a search:

You can see this is non-square and non-power-of-two, but this image will work just fine for the asset in Babylon. I used the image as is and created geometry in the same proportion as the artwork:

In my case, I used the values 56.4mm x 78.9mm for the quad, but it really doesn’t matter what the scale is, only that the proportions of the quad match the artwork exactly. I am using Maya here, but it really doesn’t matter what DCC tool you use, they all do the same thing.

The important part is how I UV the quad. I UV the quad into a normalized square taking up all of 0-1 space. The reason is that the UVs are simply coordinates to map where each vertex sits on the texture. So in my case, the lower left vertex is located at (0,0), lower right is located at (1,0), upper left at (0,1) and upper right at (1,1). This tells me that the quad will use the entire texture mapped edge to edge and top to bottom. Since the geometry is the same proportion as the texture, you will see no distortion in the image when viewed in Babylon:

If you want to use a square image for your texture and your card artwork only takes up a portion of the square texture, then you need to move your UVs to match the proportion of the artwork within the square texture. However, this can lead to unwanted or cropped pixels if your UVs aren’t dead on. And since you never render the texture outside of the mesh UVs, you are downloading and storing in memory every pixel that does not render. If you have a lot of different textures for your deck, this can lead to a significant increase in your memory footprint that is all unnecessary.

Remember, your UVs are just a map for your geometry to show them what parts of the texture should be rendered and where those pixels appear on the mesh. If you want to use the whole texture, set up your UVs to map all of UV space like above and then it does not matter what pixel dimension your artwork is. You only need to make sure your geometry matches the proportions of the texture.